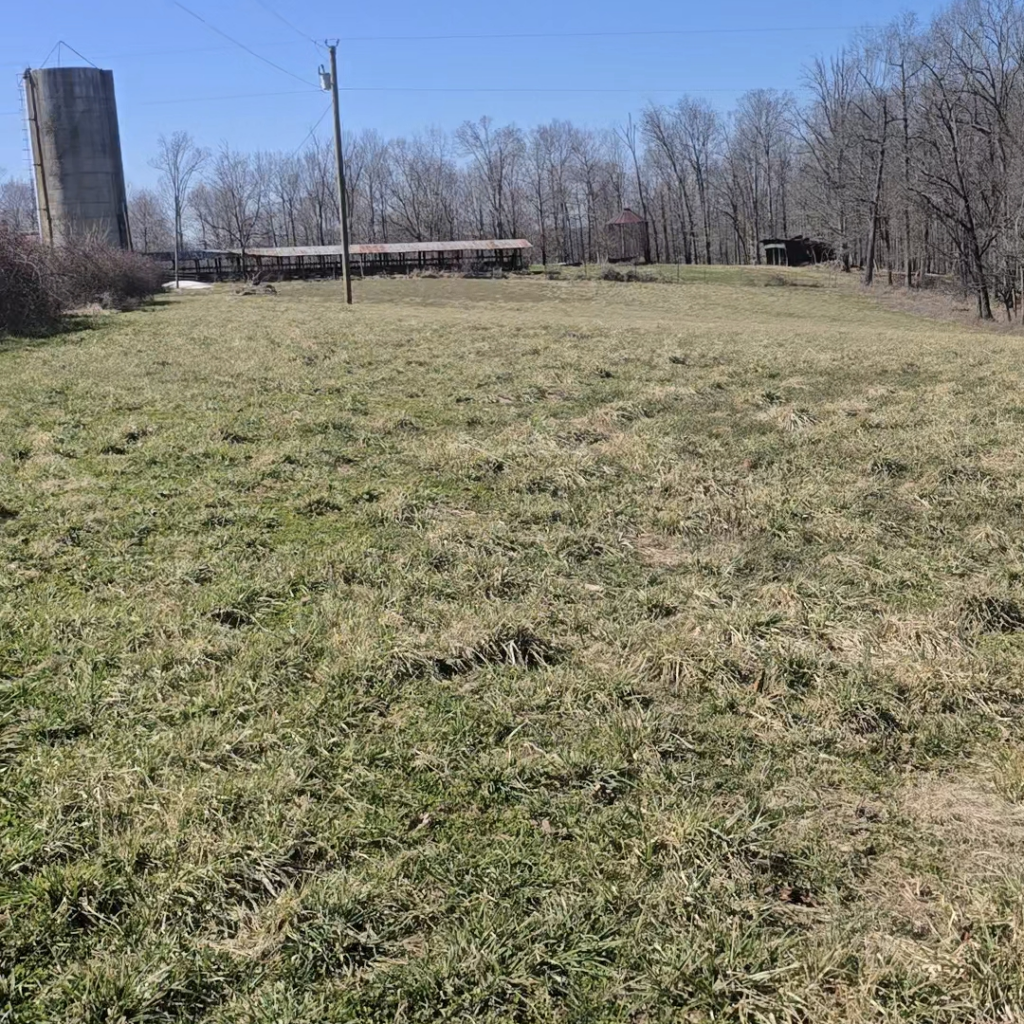
DISCLAIMER: This is just a vision I have for a later project. I’m doing this for life, not the dollar although that pollution is an unfortunate byproduct. No accidental chemical warfare via spicy air currents are intended to blow over onto the PITA neighbor. No sir, no ma’am, keeping it all about farming, processing, and making a legal, profitable product without causing any pepper-related casualties.
The Author Known Guide to Growing, Processing, and Selling Carolina Reaper Powder on ½ Acre—The Right Way
If you’ve ever wondered how to legally grow some of the hottest peppers on Earth, turn them into a fine, marketable powder, and sell them at local farmers markets, you’re in the right place. This guide gives you the step-by-step breakdown of how to set up, plant, harvest, process, and sell Carolina Reaper peppers on just ½ an acre—all while staying within Kentucky’s cottage food laws. Let’s get growing.
What You Need (Minimalist Edition—No Extra Frills)
Seeds & Growing Supplies
- Carolina Reaper Seeds – 5,600 (this covers a ½-acre setup)
- Seed Trays – 28 trays (200 cells per tray)
- Soil Starter Mix – 10 bags
Soil & Fertilizers
- Compost – 1-2 cubic yards of the good stuff
- Soil Amendments – Lime or sulfur (depends on your soil test)
- Fertilizer (10-10-10) – 200 lbs
- Fertilizer (0-10-20) – 100 lbs (for fruiting phase)
Irrigation & Mulching
- Drip Irrigation Kit – ½-acre setup
- Mulch (Straw or Plastic) – 10-12 bales or 2 rolls of plastic
Harvesting & Processing
- Gloves – Non-negotiable (capsaicin burns are not fun)
- Dehydrator – A large-capacity unit (or multiple smaller ones)
- Grinder – A reliable commercial spice grinder
- Jars & Labels – 12,000 half-ounce jars or 6,000 one-ounce jars
The Step-by-Step Process to Growing and Selling Heat
Step 1: Prepare the Land (January–March).
Good crops start with good soil. Here’s how to set the stage for success:
- Soil Test: Send a sample to your local extension office to check pH and nutrient levels.
- Till the Land: Loosen the soil 12-15 inches deep for proper root growth.
- Compost & Fertilizer: Mix in compost and 10-10-10 fertilizer to get nutrients balanced before planting.
- Install Drip Irrigation: This saves water, prevents disease, and keeps plants happy in hot summer months.
- Mulch for Weed Control: Use straw or plastic mulch to keep weeds down and moisture in.
Step 2: Start Seeds Indoors (March–April)
Carolina Reapers take their time. Getting a head start indoors is key.
- Fill Seed Trays with Starter Mix.
- Plant One Seed Per Cell (¼ inch deep).
- Keep Temperatures at 80-90°F. Use grow lights and heat mats.
- Transplant When They Hit 4-6 Inches Tall. (This takes about 8-10 weeks.)
Step 3: Move Plants to the Field (April–May)
Once the last frost is gone, it’s go time.
- Pick a Cloudy Day to Transplant. This prevents heat stress.
- Spacing Matters. 2 feet apart, rows 2 feet apart. This keeps airflow high and disease low.
- Water Deeply. First few days are critical—hydration is survival.
Step 4: Maintain & Grow (May–August)
Now, your job is to keep them healthy and strong:
- Fertilize on Schedule. Use 10-10-10 every 4 weeks, then switch to 0-10-20 once flowering starts.
- Watch for Pests. Aphids and fungal diseases love peppers. Stay ahead of problems.
- Weed Regularly. Mulch helps, but some weeds will try to sneak in. Show them the exit.
Step 5: Harvesting Time (September–October)
This is where patience pays off.
- Look for Bright Red, Wrinkled Peppers. That’s when they’re ready.
- Gloves Are Mandatory. Unless you like the idea of your hands feeling like lava.
- Harvest Weekly. This keeps plants producing more fruit.
Step 6: Drying, Grinding, and Packaging (October–November)
Time to turn peppers into a product people will buy.
- Slice Peppers in Half. This speeds up dehydration.
- Use a Commercial Dehydrator. Set it to 130-140°F and dry until brittle (12-24 hours).
- Grind Into Powder. Use a dedicated spice grinder (no, your coffee grinder won’t survive this).
- Package Immediately. Fill ½-ounce or 1-ounce jars to lock in the heat and freshness.
Step 7: Selling It the Right Way (November–December)
Kentucky’s cottage food laws cap you at $60,000 in sales. Here’s how to stay within the rules:
1. Pricing:
- ½ Ounce Jars: $5 each (12,000 needed to hit $60K)
- 1 Ounce Jars: $10 each (6,000 needed to hit $60K)
2. Where to Sell: Farmers markets, roadside stands, events.
- No online or wholesale sales (state law).
3. Label It Properly: Include product name, weight, and allergy warnings.
Projected Profit & Why This Works
- Total Jars Produced: 12,000 half-ounce jars (or 6,000 one-ounce jars)
Revenue:
- 12,000 × $5 = $60,000 (½-ounce jars)
- 6,000 × $10 = $60,000 (1-ounce jars)
Expenses
- (First Year): ~$18,700 (land, tools, processing)
Net Profit (First Year): ~$41,300
Net Profit (After Setup Costs): ~$50,400
Final Thoughts
Sasquatch doesn’t need to hide when it comes to profitable farming. You don’t need a massive operation, a high-tech greenhouse, or an army of workers—just ½ an acre, a good plan, and the patience to grow it right. Stick to the process, follow the rules, and let the peppers (and your business) thrive.
Now to crowdfund this first year setup operation. Who’s in?
Shitzengiggles
Plainfoolish, shunworthy behavior ahead. I have a sneaking suspicion homesteaders might not particularly favor AI. I couldn’t help it, the 7-year-old Sasquatch boy in me asked an AI ChatGPT to create an Amish robot farmer working a field of red peppers. This is what I envisioned. I mean no disrespect at all, but somebody had to do it and that somebody had to be me.

Discover more from Author Known & A Dumb Idea
Subscribe to get the latest posts sent to your email.


